Setting Up and Deploying
This page explains how to set up a project on Mastra Cloud with automatic deployments using our GitHub integration.
Deploy and monitor your Mastra applications with Mastra Cloud. Get automated deployments, detailed observability, and a built-in Studio for testing agents and workflows.
PrerequisitesDirect link to Prerequisites
- A Mastra Cloud account
- A GitHub account / repository containing a Mastra application
See our Getting started guide to scaffold out a new Mastra project with sensible defaults.
Setup and Deploy processDirect link to Setup and Deploy process
Head over to https://cloud.mastra.ai/ and sign in with either:
- GitHub
When prompted, install the Mastra GitHub app.
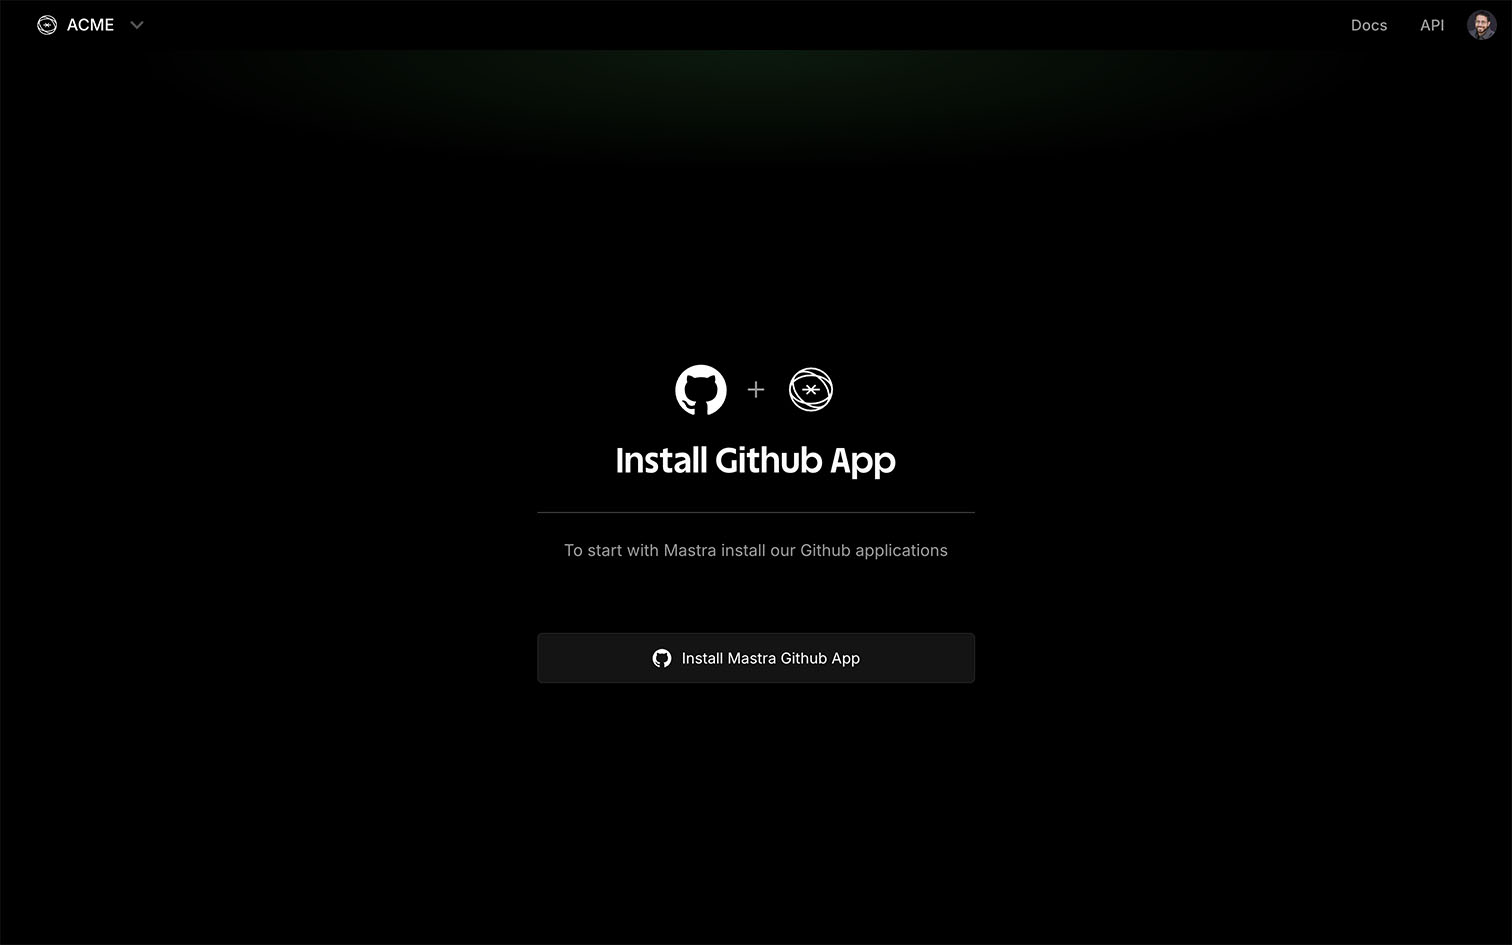
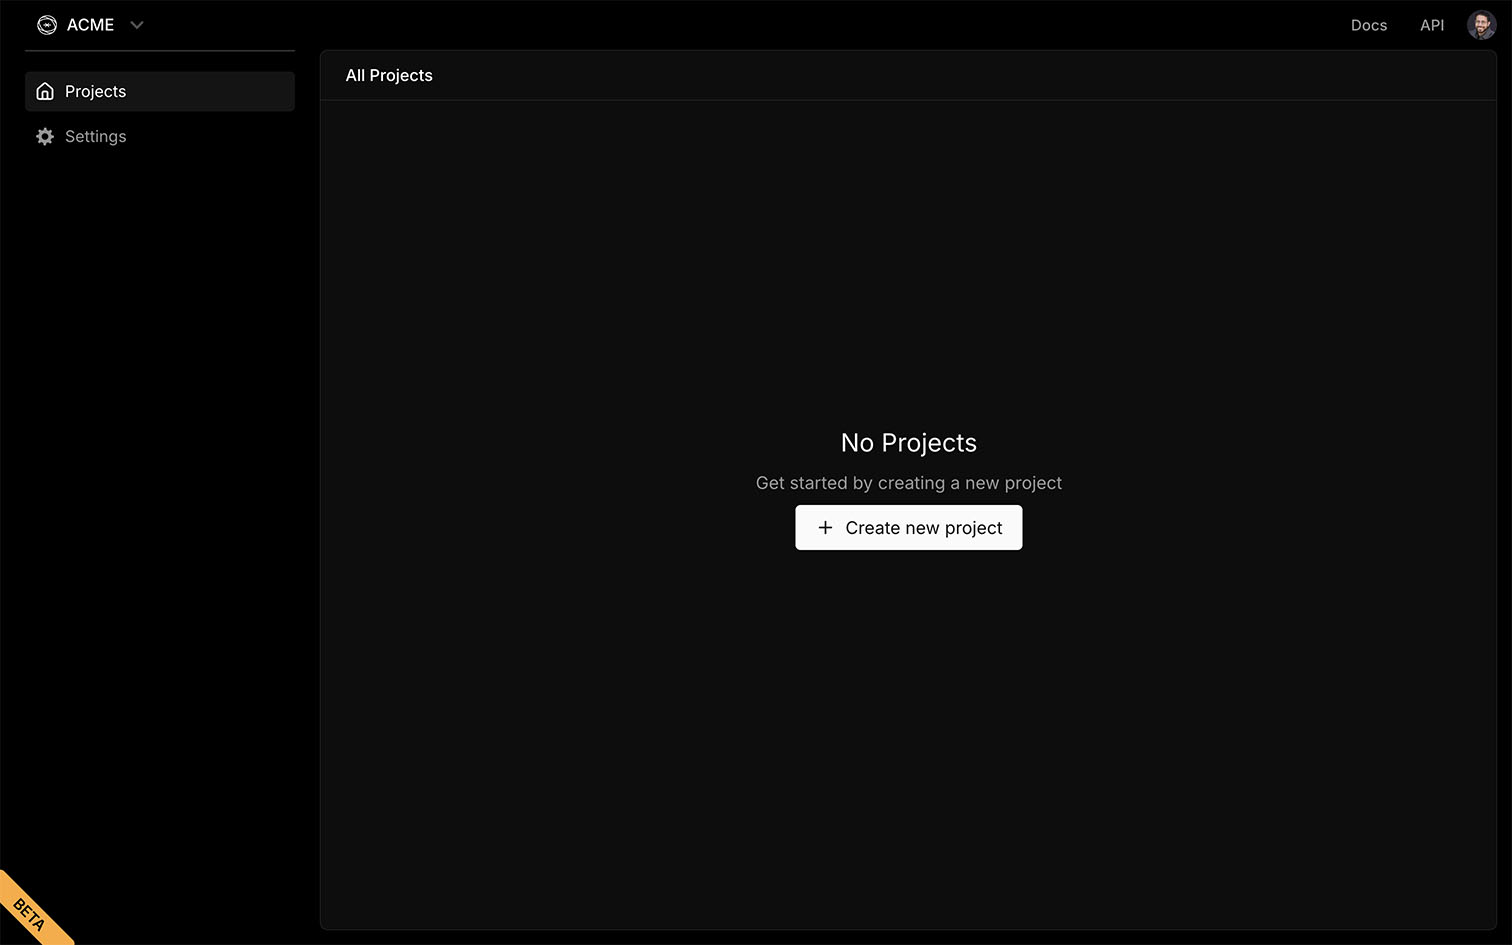
Click the Create new project button to create a new project.
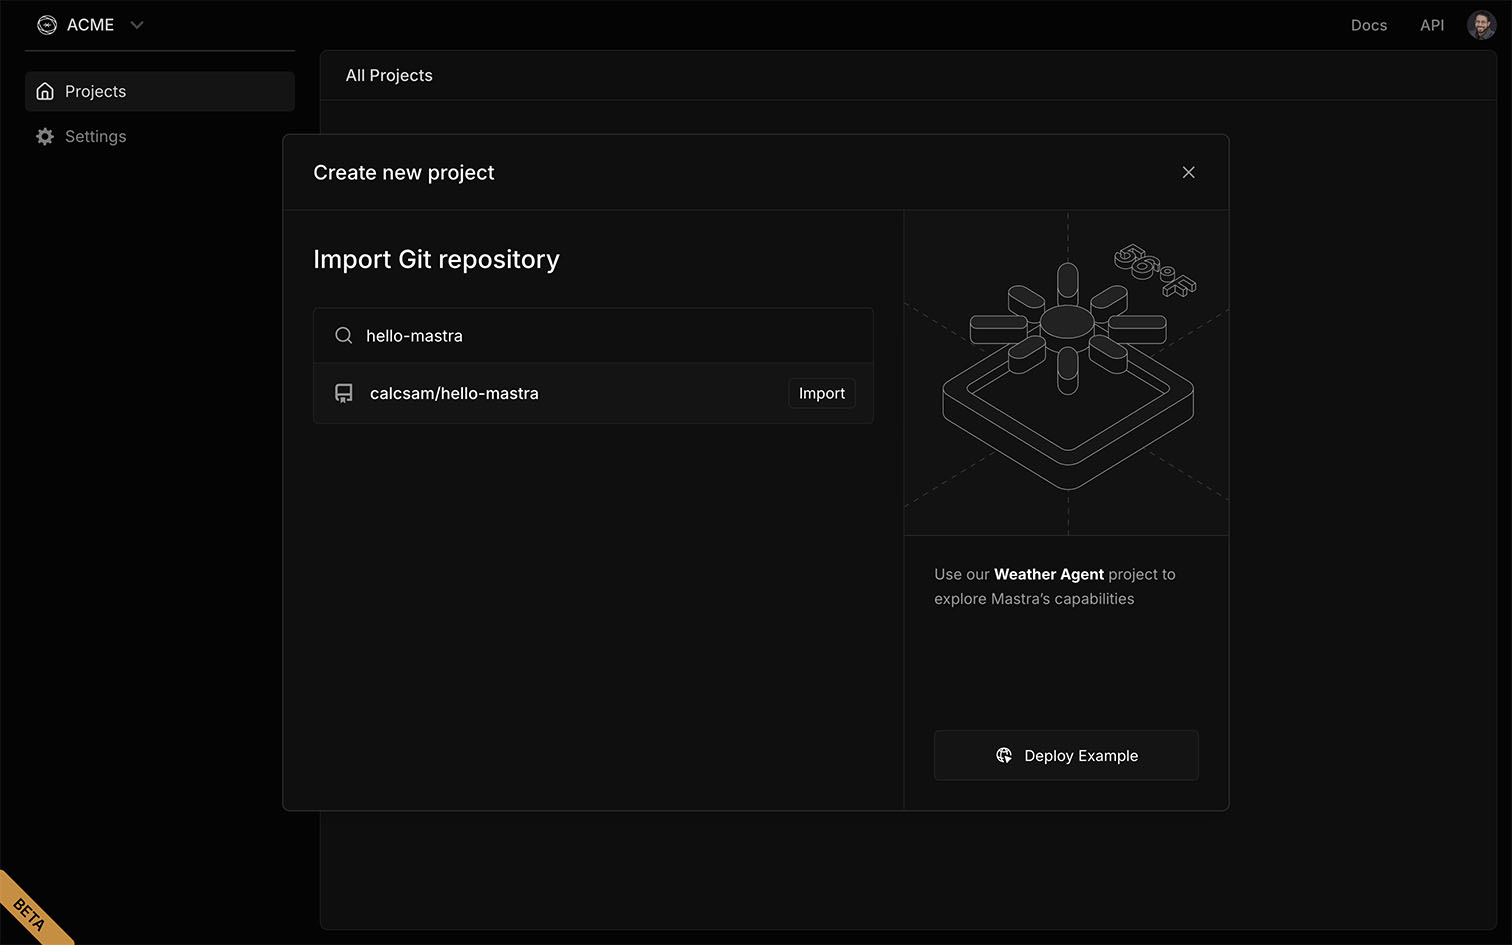
Search for a repository, then click Import.
Mastra Cloud automatically detects the right build settings, but you can customize them using the options described below.
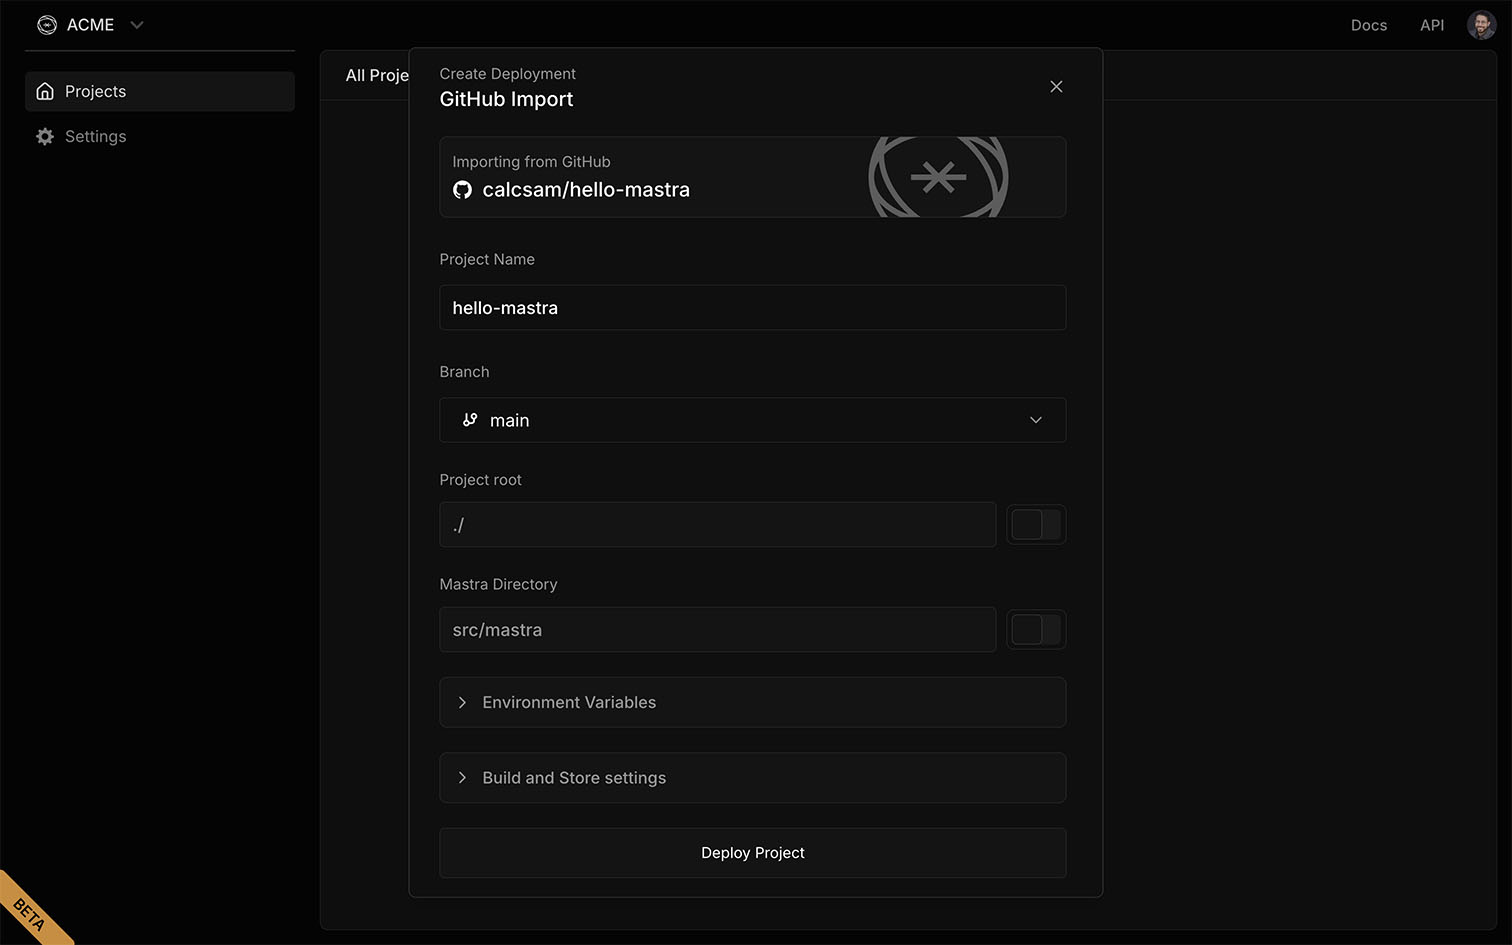
- Importing from GitHub: The GitHub repository name
- Project name: Customize the project name
- Branch: The branch to deploy from
- Project root: The root directory of your project
- Mastra directory: Where Mastra files are located
- Environment variables: Add environment variables used by the application
- Build and Store settings:
- Install command: Runs pre-build to install project dependencies
- Project setup command: Runs pre-build to prepare any external dependencies
- Port: The network port the server will use
- Store settings: Use Mastra Cloud's built-in LibSQLStore storage
- Deploy Project: Starts the deployment process
Click Deploy Project to create and deploy your application using the configuration you've set.
Successful deploymentDirect link to Successful deployment
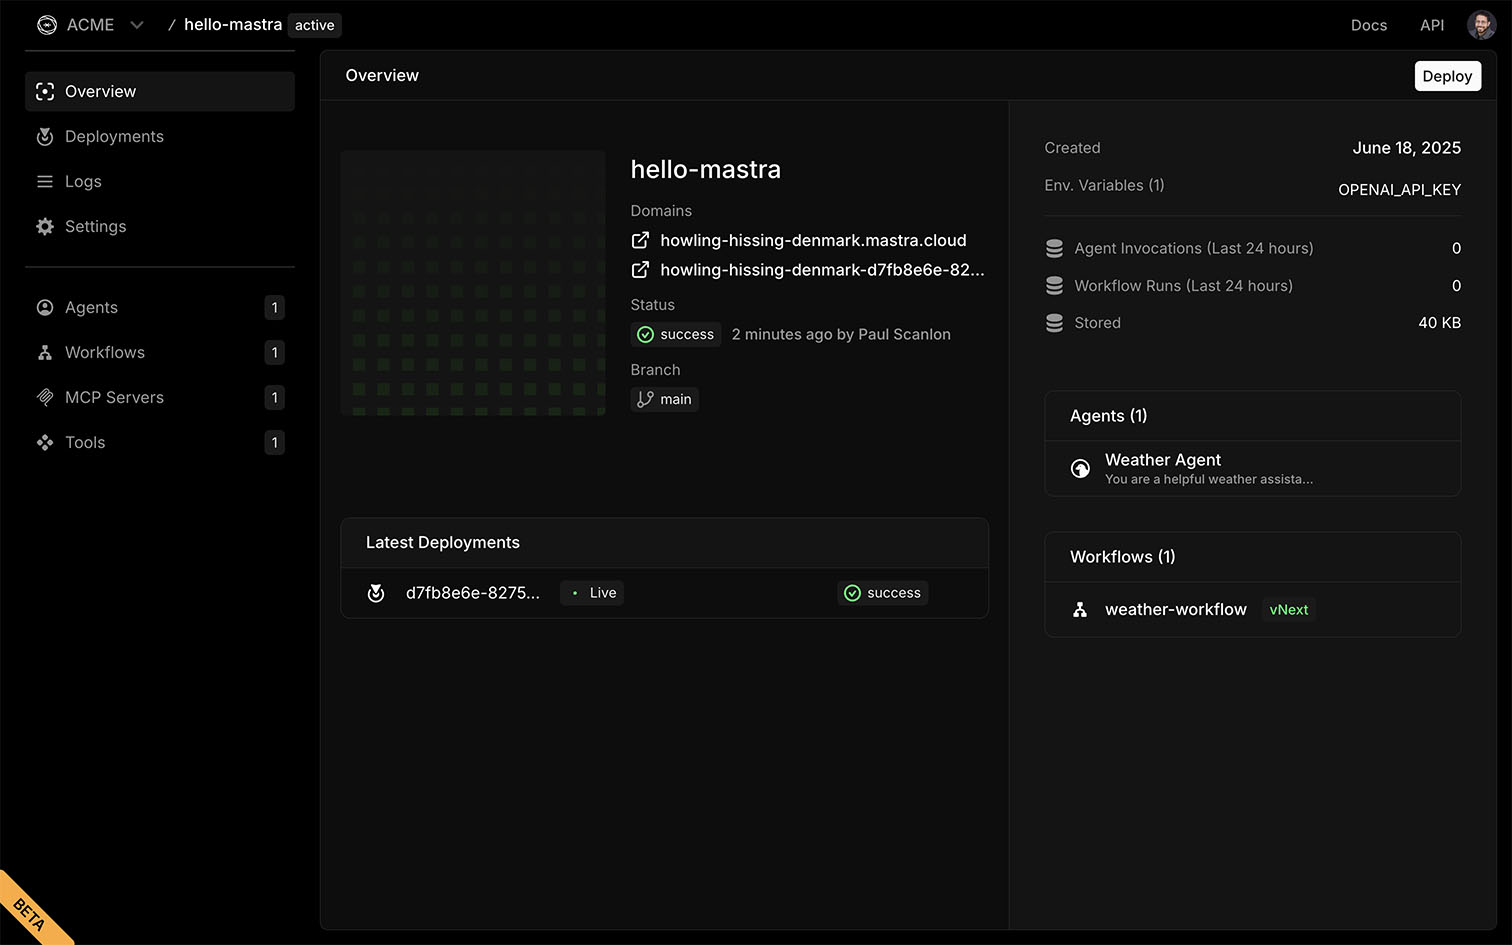
After a successful deployment you'll be shown the Overview screen where you can view your project's status, domains, latest deployments and connected agents and workflows.
Continuous integrationDirect link to Continuous integration
Your project is now configured with automatic deployments which occur whenever you push to the configured branch of your GitHub repository.
Testing your applicationDirect link to Testing your application
After a successful deployment you can test your agents and workflows Studio in Mastra Cloud, or interact with them using our Client SDK.