Integrate Mastra in your Next.js project
In this guide, you'll build a tool-calling AI agent using Mastra, then connect it to Next.js by importing and calling the agent directly from your routes.
You'll use AI SDK UI and AI Elements to create a beautiful, interactive chat experience.
Before you beginDirect link to Before you begin
- You'll need an API key from a supported model provider. If you don't have a preference, use OpenAI.
- Install Node.js
v22.13.0or later
Create a new Next.js app (optional)Direct link to Create a new Next.js app (optional)
If you already have a Next.js app, skip to the next step.
Run the following command to create a new Next.js app:
- npm
- pnpm
- Yarn
- Bun
npx create-next-app@latest my-nextjs-agent --yes --ts --eslint --tailwind --src-dir --app --turbopack --no-react-compiler --no-import-alias
pnpm dlx create-next-app@latest my-nextjs-agent --yes --ts --eslint --tailwind --src-dir --app --turbopack --no-react-compiler --no-import-alias
yarn dlx create-next-app@latest my-nextjs-agent --yes --ts --eslint --tailwind --src-dir --app --turbopack --no-react-compiler --no-import-alias
bun x create-next-app@latest my-nextjs-agent --yes --ts --eslint --tailwind --src-dir --app --turbopack --no-react-compiler --no-import-alias
This creates a project called my-nextjs-agent, but you can replace it with any name you want.
Initialize MastraDirect link to Initialize Mastra
Navigate to your Next.js project:
cd my-nextjs-agent
Run mastra init. When prompted, choose a provider (e.g. OpenAI) and enter your key:
- npm
- pnpm
- Yarn
- Bun
npx mastra@latest init
pnpm dlx mastra@latest init
yarn dlx mastra@latest init
bun x mastra@latest init
This creates a src/mastra folder with an example weather agent and the following files:
index.ts- Mastra config, including memorytools/weather-tool.ts- a tool to fetch weather for a given locationagents/weather-agent.ts- a weather agent with a prompt that uses the tool
You'll call weather-agent.ts from your Next.js routes in the next steps.
If you want to run Studio alongside your Next.js app and have both share the same database, update the storage URL in src/mastra/index.ts to use an absolute path:
url: 'file:/absolute/path/to/your/project/mastra.db'
Relative paths resolve based on each process's working directory, which differs between next dev and mastra dev.
Install AI SDK UI & AI elementsDirect link to Install AI SDK UI & AI elements
Install AI SDK UI along with the Mastra adapter:
- npm
- pnpm
- Yarn
- Bun
npm install @mastra/ai-sdk@latest @ai-sdk/react ai
pnpm add @mastra/ai-sdk@latest @ai-sdk/react ai
yarn add @mastra/ai-sdk@latest @ai-sdk/react ai
bun add @mastra/ai-sdk@latest @ai-sdk/react ai
Next, initialize AI Elements. When prompted, choose the default options:
- npm
- pnpm
- Yarn
- Bun
npx ai-elements@latest
pnpm dlx ai-elements@latest
yarn dlx ai-elements@latest
bun x ai-elements@latest
This downloads the entire AI Elements UI component library into a @/components/ai-elements folder.
Create a chat routeDirect link to Create a chat route
Create src/app/api/chat/route.ts:
import { handleChatStream } from '@mastra/ai-sdk'
import { toAISdkV5Messages } from '@mastra/ai-sdk/ui'
import { createUIMessageStreamResponse } from 'ai'
import { mastra } from '@/mastra'
import { NextResponse } from 'next/server'

const THREAD_ID = 'example-user-id'
const RESOURCE_ID = 'weather-chat'

export async function POST(req: Request) {
  const params = await req.json()
  const stream = await handleChatStream({
    mastra,
    agentId: 'weather-agent',
    params: {
      ...params,
      memory: {
        ...params.memory,
        thread: THREAD_ID,
        resource: RESOURCE_ID,
      },
    },
  })
  return createUIMessageStreamResponse({ stream })
}

export async function GET() {
  const memory = await mastra.getAgentById('weather-agent').getMemory()
  let response = null

  try {
    response = await memory?.recall({
      threadId: THREAD_ID,
      resourceId: RESOURCE_ID,
    })
  } catch {
    console.log('No previous messages found.')
  }

  const uiMessages = toAISdkV5Messages(response?.messages || [])

  return NextResponse.json(uiMessages)
}
The POST route accepts a prompt and streams the agent's response back in AI SDK format, while the GET route fetches message history from memory so the UI can be hydrated when the client reloads.
Create a chat pageDirect link to Create a chat page
Create src/app/chat/page.tsx:
'use client'

import '@/app/globals.css'
import { useEffect, useState } from 'react'
import { DefaultChatTransport, ToolUIPart } from 'ai'
import { useChat } from '@ai-sdk/react'

import {
  PromptInput,
  PromptInputBody,
  PromptInputTextarea,
} from '@/components/ai-elements/prompt-input'

import {
  Conversation,
  ConversationContent,
  ConversationScrollButton,
} from '@/components/ai-elements/conversation'

import { Message, MessageContent, MessageResponse } from '@/components/ai-elements/message'

import { Tool, ToolHeader, ToolContent, ToolInput, ToolOutput } from '@/components/ai-elements/tool'

function Chat() {
  const [input, setInput] = useState<string>('')

  const { messages, setMessages, sendMessage, status } = useChat({
    transport: new DefaultChatTransport({
      api: '/api/chat',
    }),
  })

  useEffect(() => {
    const fetchMessages = async () => {
      const res = await fetch('/api/chat')
      const data = await res.json()
      setMessages([...data])
    }
    fetchMessages()
  }, [setMessages])

  const handleSubmit = async () => {
    if (!input.trim()) return

    sendMessage({ text: input })
    setInput('')
  }

  return (
    <div className="relative size-full h-screen w-full p-6">
      <div className="flex h-full flex-col">
        <Conversation className="h-full">
          <ConversationContent>
            {messages.map(message => (
              <div key={message.id}>
                {message.parts?.map((part, i) => {
                  if (part.type === 'text') {
                    return (
                      <Message key={`${message.id}-${i}`} from={message.role}>
                        <MessageContent>
                          <MessageResponse>{part.text}</MessageResponse>
                        </MessageContent>
                      </Message>
                    )
                  }

                  if (part.type?.startsWith('tool-')) {
                    return (
                      <Tool key={`${message.id}-${i}`}>
                        <ToolHeader
                          type={(part as ToolUIPart).type}
                          state={(part as ToolUIPart).state || 'output-available'}
                          className="cursor-pointer"
                        />
                        <ToolContent>
                          <ToolInput input={(part as ToolUIPart).input || {}} />
                          <ToolOutput
                            output={(part as ToolUIPart).output}
                            errorText={(part as ToolUIPart).errorText}
                          />
                        </ToolContent>
                      </Tool>
                    )
                  }

                  return null
                })}
              </div>
            ))}
            <ConversationScrollButton />
          </ConversationContent>
        </Conversation>

        <PromptInput onSubmit={handleSubmit} className="mt-20">
          <PromptInputBody>
            <PromptInputTextarea
              onChange={e => setInput(e.target.value)}
              className="md:leading-10"
              value={input}
              placeholder="Type your message..."
              disabled={status !== 'ready'}
            />
          </PromptInputBody>
        </PromptInput>
      </div>
    </div>
  )
}

export default Chat
This component connects useChat() to the api/chat endpoint, sending prompts there and streaming the response back in chunks.
It renders the response text using the <MessageResponse> component, and shows any tool invocations with the <Tool> component.
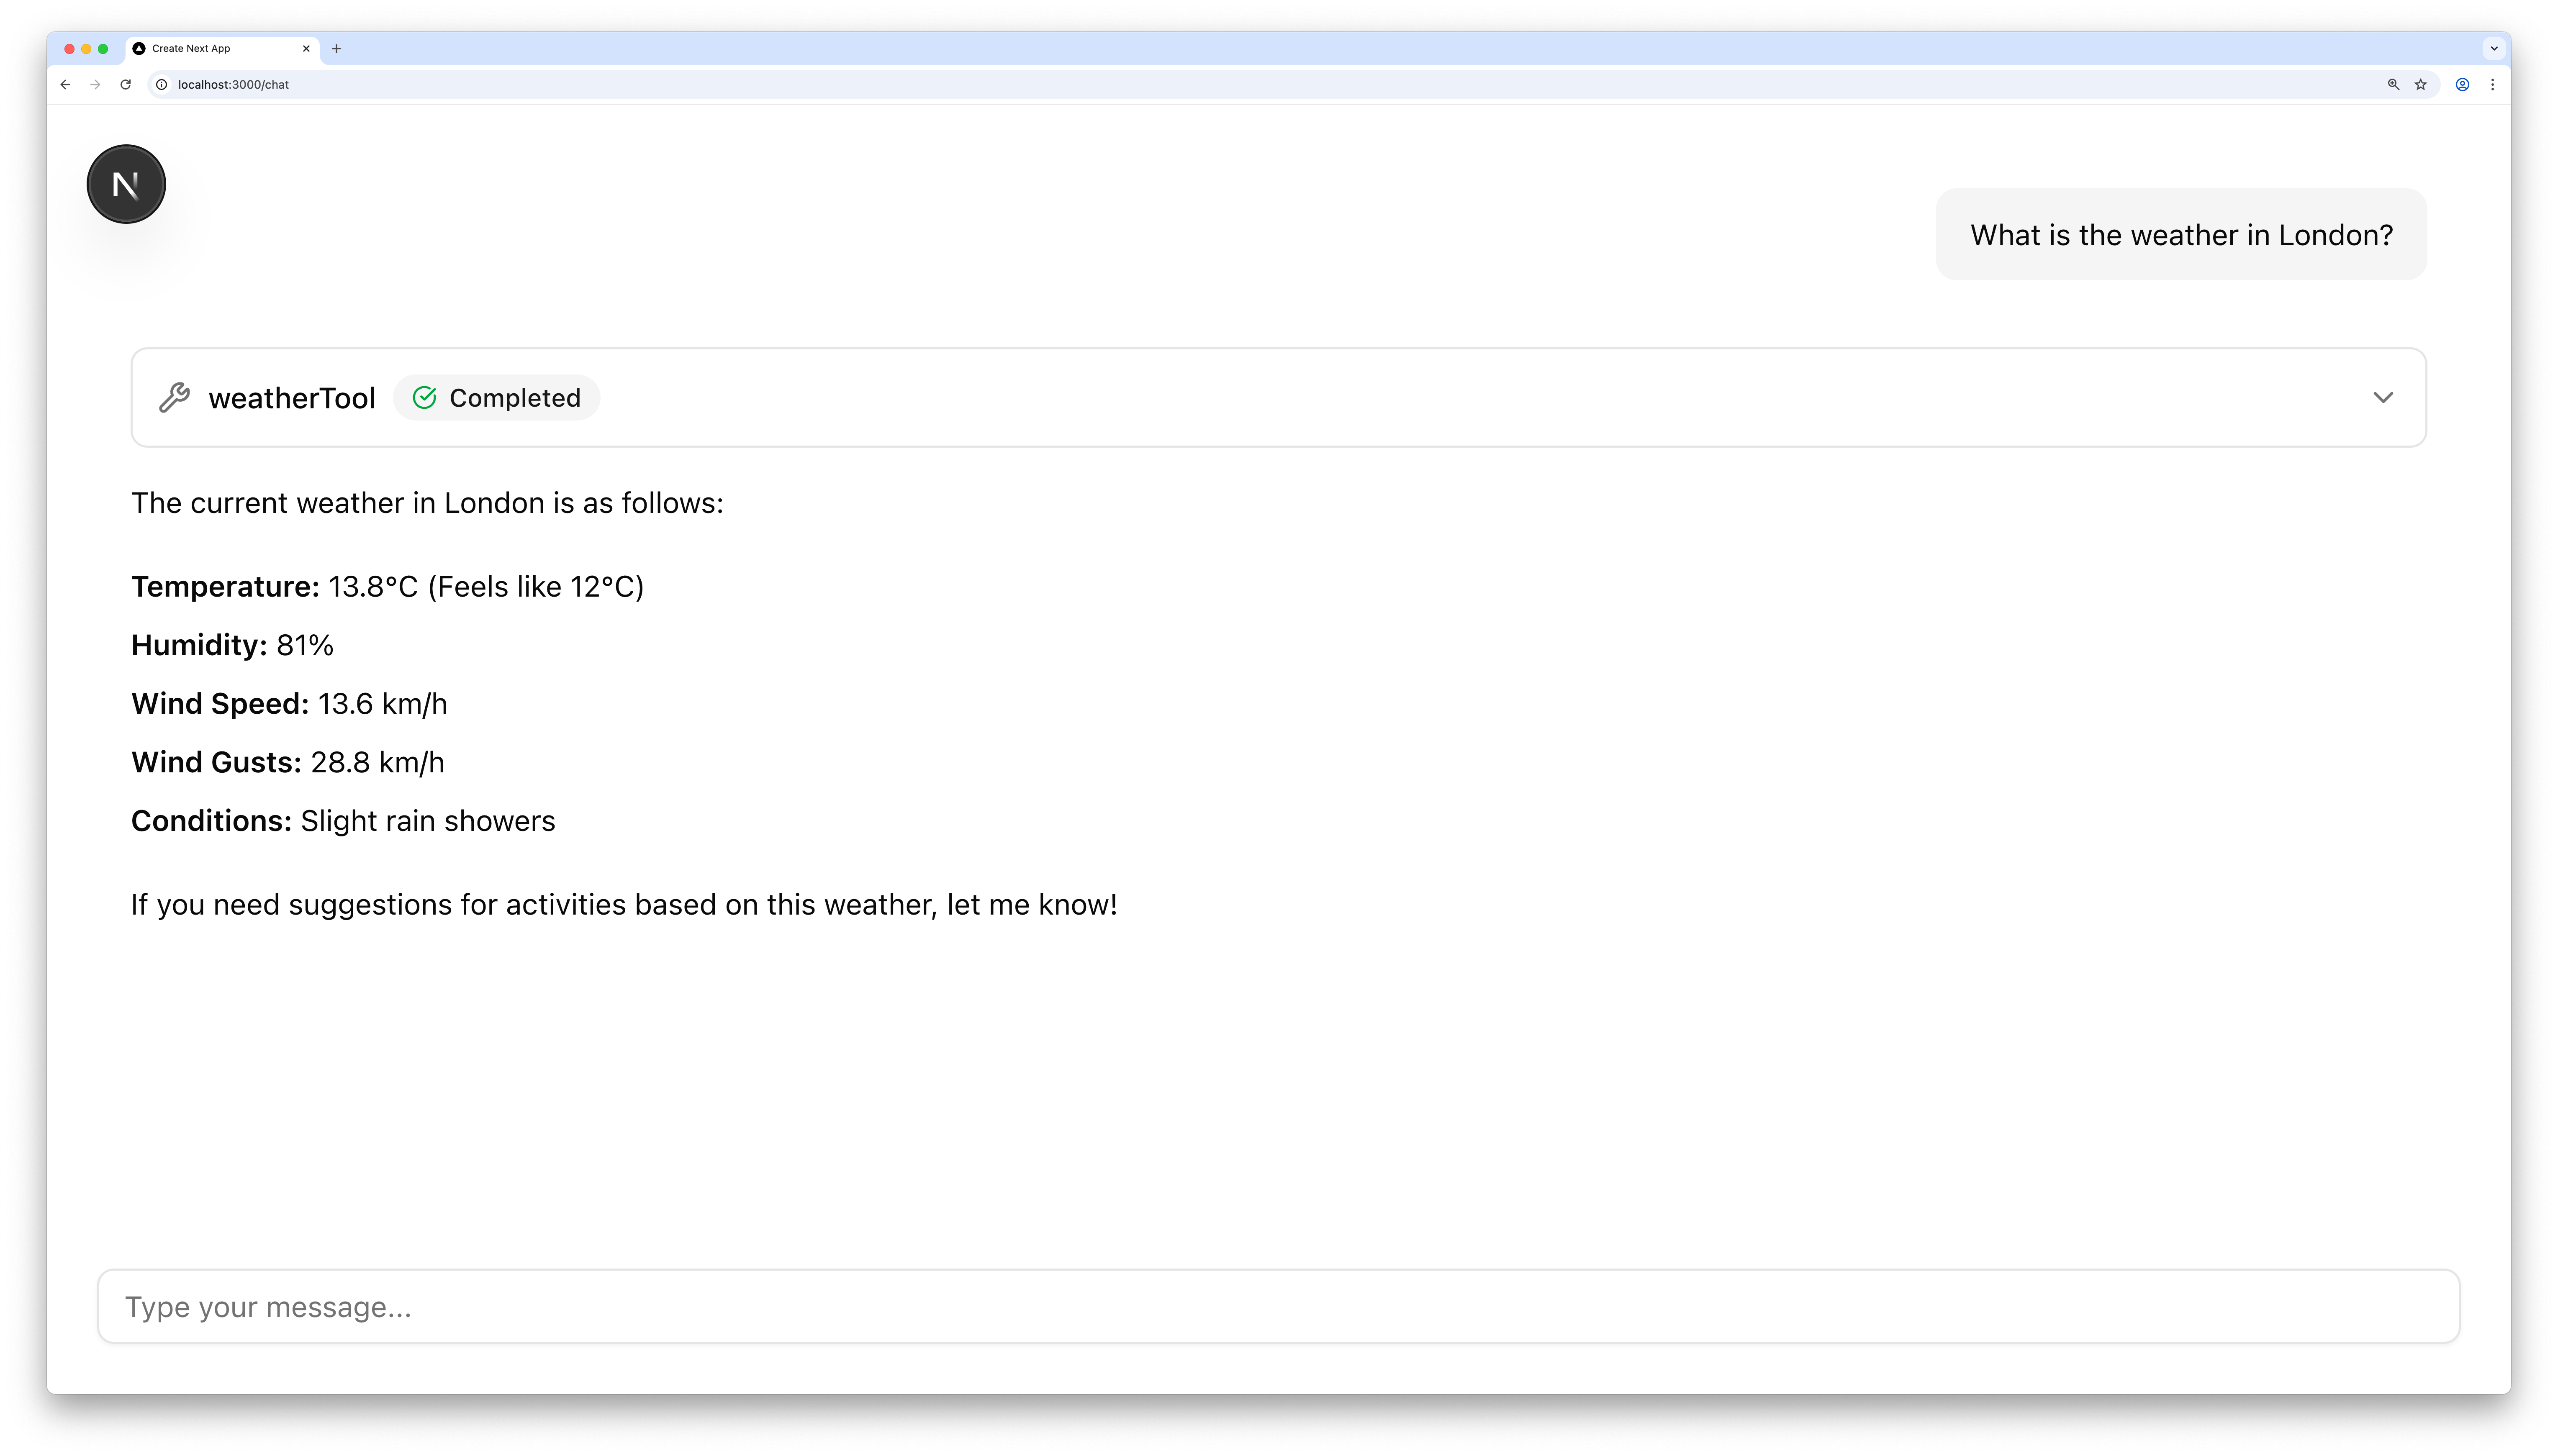
Test your agentDirect link to Test your agent
- Run your Next.js app with
npm run dev - Open the chat at http://localhost:3000/chat
- Try asking about the weather. If your API key is set up correctly, you'll get a response
Next stepsDirect link to Next steps
Congratulations on building your Mastra agent with Next.js! 🎉
From here, you can extend the project with your own tools and logic:
When you're ready, read more about how Mastra integrates with AI SDK UI and Next.js, and how to deploy your agent anywhere, including Vercel: